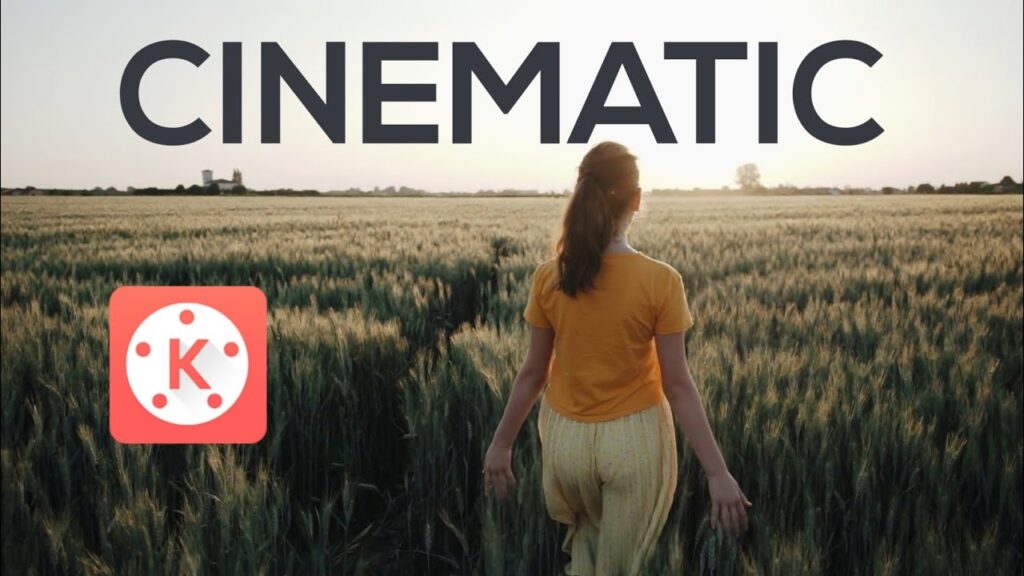
Creating smooth, eye-catching transitions between clips is one of the easiest ways to give your videos that polished, cinematic feel — and yes, you can do it right from your phone using the KineMaster Mod APK app. Whether you’re making a travel vlog, short film, or music video, learning how to use cinematic transitions properly can take your editing game to the next level. Here’s a complete guide to help you do that.
🎞️ What Are Cinematic Transitions IN KineMaster APK app?
Cinematic transitions in KineMaster app are the smooth, creative ways one scene flows into the next. Instead of just cutting from clip to clip, cinematic transitions add movement, energy, or mood — like fades, swipes, zooms, or motion-based effects. KineMaster offers built-in transition effects, but you can also create custom ones manually using basic editing techniques. After downloading KineMaster Mod APK from Kinemasterapk.in ,
📲 Step 1: Import Your Footage into KineMaster Open the KineMaster app.
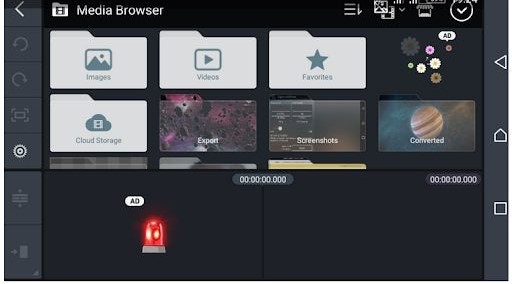
Tap the + to start a new project. Choose the desired aspect ratio (16:9 is best for cinematic looks). Tap Media to import your video clips into the timeline. Place the clips in your desired order.
✨ Step 2: Use KineMaster’s Built-In Transition Effects, KineMaster Mod APK app makes it easy to add transitions between clips.

After adding two clips to the timeline, you’ll see a gray square between them with a + icon. Tap the +, and a menu of transitions will appear. Scroll through categories like:
- 3D
- Transitions
- Classic fades
- Wipe effects
- Motion-based transitions
Tap on any transition to preview it, then select one to apply.
🎥 Pro Tip: Use “Crossfade,” “Wipe Down,” or “Zoom In” for a more cinematic flow. Keep it subtle — the best transitions often go unnoticed.
🔧 Step 3: Customize the Transition Once you’ve applied a transition, you can tweak the duration:
Tap the transition in the timeline. Use the slider or time setting to adjust how long it lasts (usually 0.5–1.0 seconds is ideal).
Avoid making it too fast or too slow — the goal is to keep it smooth and natural.
🎨 Step 4: Create Manual Cinematic Transitions (Advanced)| KineMaster Mod APK:
Want more control? You can create your own transitions manually using keyframes, blurs, and zoom effects. Example: Zoom Out Transition At the end of Clip A, apply a keyframe. Add a scale effect that zooms out over 0.5 seconds. At the beginning of Clip B, do the reverse — zoom in from the same position. This gives a camera movement feel between scenes — like you’re moving through space from one clip to the next. Example: Motion Blur Swipe Add a layer of black color between clips and reduce opacity. Swipe Clip A to the left using position keyframes. Swipe Clip B in from the right. Add a blur filter to both clips during motion to simulate speed.
This takes more time but results in a very professional-looking transition.
🧩 Bonus Tip: Add Sound Effects to Transitions Sound can enhance the visual transition dramatically. Add whoosh or swoosh sounds right where the clips change.
Go to Audio > SFX.
Choose or import a transition sound. Sync it perfectly with the visual movement. This small trick adds a major cinematic touch.
🎛️ Step 5: Use Keyframes for Smooth Movement | KineMaster Mod APK:
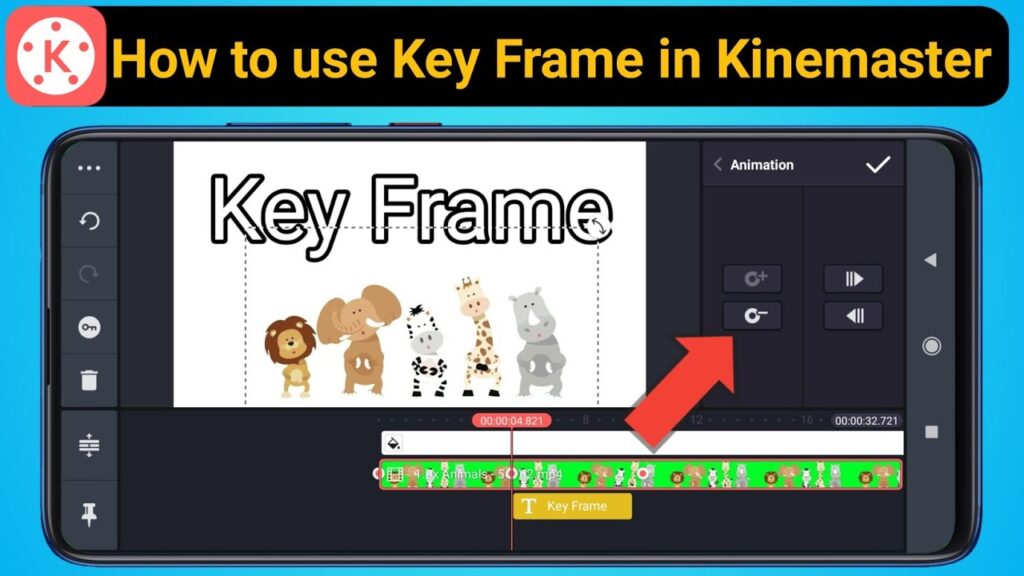
KineMaster’s keyframe animation tool is a game-changer when creating custom transitions. Here’s how to use keyframes to animate transitions: Select a clip on the timeline. Tap the keyframe icon (a small diamond shape). Move the playhead forward a few frames. Zoom, move, or rotate the clip slightly. KineMaster will create a smooth animation between the two points. Try This: Zoom-in transition between clips (Clip A zooms in, Clip B zooms out) Pan left or right to simulate camera motion Rotate clips slightly for a dynamic twist You can even create parallax transitions by layering elements and moving them at different speeds.
🌫️ Step 6: Add Blur or Light Leaks Between Clips :
Here’s how:
Add a short transition clip (downloaded light leak or blur overlay) between two video clips. Set the blending mode to Screen or Overlay so it blends naturally. Adjust the opacity and timing for a seamless effect. You can find free light leak overlays on websites like Mixkit, Pexels, or YouTube, then import them into your KineMaster project.
🧪 Step 7: A check with Speed and Reverse Effects :
Speed changes can be used as part of a transition too.
Try:
Speeding up the last second of a clip before cutting to the next scene. Using a reverse motion to rewind out of one clip and jump into the next. Combining slow motion at the start of Clip B for dramatic effect. The trick is to align these changes with your audio and the energy of the edit.
🎵 Step 8: Sync Transitions with the Beat :
For music videos or energetic vlogs, syncing transitions with the beat of the music makes a huge difference. Import your soundtrack first. Play through and place markers (or note the timing) on strong beats. Time your clip cuts and transitions right on the beat for maximum impact. This technique is often used in trailers, dance edits, and cinematic montages.
⚠️ Avoid These Common Mistakes :
Even great transitions can feel out of place if they’re not used thoughtfully. Here are a few things to avoid: Overusing transitions: Don’t add a fancy effect between every single clip. Inconsistent styles: Mixing too many different styles of transitions (e.g., zoom, spin, fade, slide) can make your video feel messy. Unmatched motion direction: If one clip zooms out and the next zooms in from a different angle, it can break the flow. Consistency and purpose are key.
🧠Conclusion:
Cinematic transitions aren’t just about flashy visuals — they’re about creating flow, guiding the viewer, and enhancing the mood. With KineMaster, you have powerful tools right in your pocket to make your videos stand out. Start experimenting with transitions, combine them with keyframes and audio, and you’ll be amazed at how cinematic your videos can become.
Why Cinematic Transitions Matter
- They connect scenes in a seamless, professional way.
- They enhance pacing, mood, and storytelling.
- They make your video look much more polished.
Why Choose KineMaster (or KineMaster Mod APK)
- Multi-layer timeline: stack clips, titles, and effects.
- Advanced transitions like wipe, slide, luma fade, and zoom.
- Keyframing and blending for refined control.
- KineMaster Mod APK unlocks premium transitions and removes the KineMaster watermark—perfect for creators who want full capability without restrictions.
🔗 Related Posts
- Download KineMaster Mod APK v7.7.3.34536 (Latest Version) – No Watermark, Premium Unlocked [2025]
- KineMaster Mod APK vs CapCut – Which Video Editor Is Better for You in 2025?
- A Complete Guide to Using Voiceover in the KineMaster App
Still need help ?
Visit our Contact us page for further assistance.
3 thoughts on “🎬 How to Create Cinematic Transitions in KineMaster App”